The purpose of Neutral Density (ND) filters is to reduce the amount of light entering the camera lens. This makes it possible to get long exposure times needed to blur moving water, clouds etc and can also be very helpful to get rid of people in a scene when shooting at locations favored by tourists.
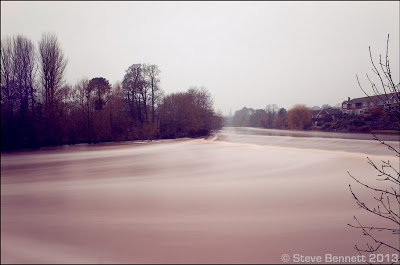 |
| Shot taken with a 10 stop ND filter |
ND filters are made of special glass that reduces the light level evenly across the visible spectrum there by retaining the original white balance intact. Superior glass also reduces chances of any aberrations or ghosting occurring in the image. All major manufactures like B+W, Hoya etc make quality ND filters. The only downside of ND filters are its price, like anything related to Photography, ND filters are not cheap good quality ND filters cost well in excess of $100 and many amateurs find it hard to justify the price.
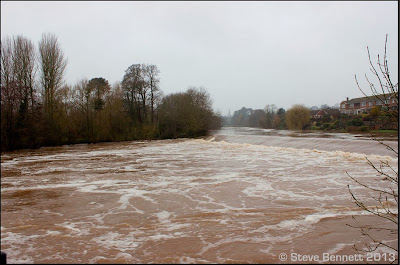 |
| Shot of the same scene as above without the ND filter |
So in this article we will discuss how we can create a 10 stop ND filter using welding glass. Welder’s glass comes in various strengths ranging from 4 stop to 11 stops, choose a strength depending upon your purpose (how bright is the scene and how long do you need the shutter speed to be) darker glass produces longer exposure times and vice versa.
When considering purchase of welding glass it is good to know that the numbers on the welding glass are not the same as stops. I have only worked it out for the ones I use which are:
#8 = 10 stops
#9 = 11.5 stops
#10 = 13 stops
One other thing when using very dark ND filters, is that the viewfinder needs to be covered to stop light leaking in through the viewfinder, which can get past the mirror when it is raised. Some modern cameras have a shutter built in to close the viewfinder but most doesn't. I use a piece of black gaffer tape over the eyepiece. This also stops the cameras meter giving an incorrect reading.
 |
| DIY Welding Glass ND Filter |
Before we proceed any further let us be clear on certain aspects, welding glass is not designed with photography in mind, they are also not of the same optical quality as ND filters. This means there are chances of distortion, ghosting or loss of image quality when photographing using welding glass.
The pictures will also have strong color casts depending on the type of glass being used but this could easily be corrected if you shoot in RAW file format.
 |
| This is how the ND filter shot looks straight from the camera without custom white balance. |
However I have found that if you choose a reasonably good quality welder’s glass to make your ND filter you will get images comparable to that taken with dedicated ND filters, especially so if there is no light falling at the filter from angles that are far from perpendicular to the filter plane.
Attaching the DIY Welding Glass ND Filter to the Lens
If you google it, you will see that many photographers use different techniques to attach the filter to their lens.
Aaron Czeszynski’s article at Diyphotography.net shows a really simple method of attaching the filter to the reversed lens hood using rubber bands.
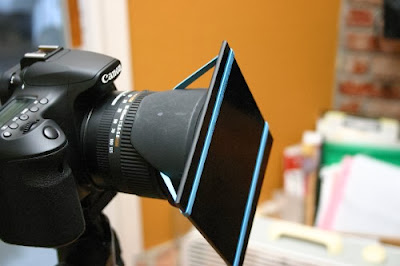 |
| Photo by: Aaron Czeszynski |
Alex Wise in his photography blog alexwisephotography.net uses rubber bands to attach the filter directly to the camera.
 |
| Photo by: Alex Wise |
Both techniques is simple to use, but one should be careful and ensure that there is no light leaking in from the point where the lens and filter meet, else everything is spoilt. Another disadvantage of these techniques is that you cannot use a lens hood when the filter is attached like this. And as we explained earlier non image forming light (light falling at the filter from angles that are not perpendicular to the filter plane) could seriously reduce image quality and a proper lens hood could do a lot of good in such situations.
So what I did was to remove the glass from a broken/damaged filter take it to a optic store and in no time they cut the welding glass to fit the filter perfectly.
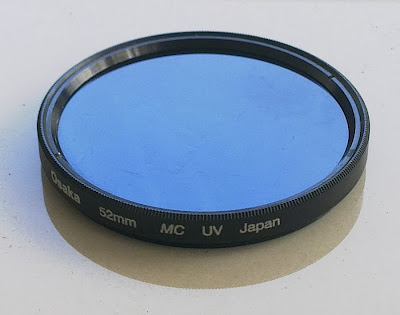 |
| DIY ND Filter |
Wow a neat looking 10 stop ND filter in no time, the welding glass cost me Rs 30 and the optician charged Rs 20, even if I put in my travelling expenditure it is well under Rs 70 (approximately 1 $).
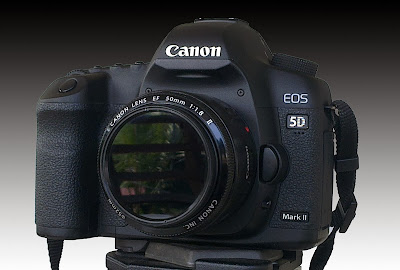 |
| diy welding glass nd filter |
And what's even better is the fact that you could use a lens hood as normal which is a significant advantage over other methods. Check out this post if you need to make a hood for your lens.
Here are some shots taken with diy welding glass ND filter for your inspiration.
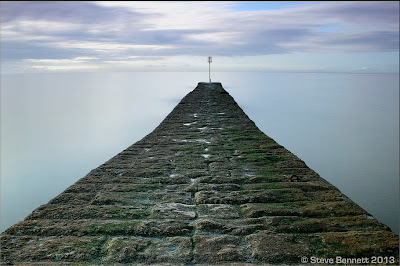 |
| welding glass nd filter |
 |
| welding glass nd filter |
 |
| welding glass filter photography |
 |
| neutral density glass filter |
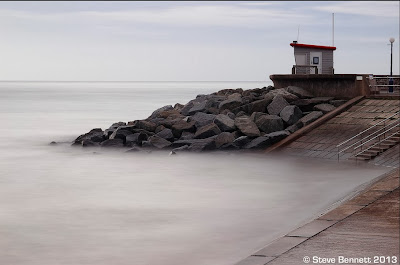 |
| welding glass camera filter |
 |
| diy 10 stop nd filter |
By: Steve Bennett
Post a Comment