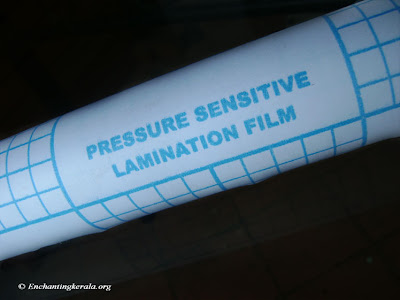
Lamination is one thing we all use to protect our photos. There are various types of lamination and we will discuss about it in detail in a future article. Now we will see how we can easily laminate our pictures at home without the need for any fancy equipment. We will be using pressure sensitive, one use laminating sheets that allows to laminate a photo without using heat or any machines.
 |
| Diy Lamination - How to Laminate Photos At Home |
Laminating paper is a large piece of clear paper with adhesive attached to a baking sheet. It is just like a sticker, you can peel off the baking sheet and attach the clear to the desired object.
 |
| Diy Lamination - How to Laminate Photos At Home |
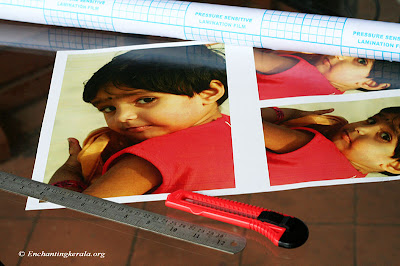
First we need to cut out the photo which we are going to laminate. I got a picture of my daughter printed in different sizes on a single sheet. Since i only need to laminate a single photo we will cut it out.
 |
| Diy Lamination - How to Laminate Photos At Home |
It is easier if you have paper cutter, but a scale and a blade will do just fine, for this purpose a metal scale should be preferred.
 |
| Diy Lamination - How to Laminate Photos At Home |
Now we have our photo ready to be laminated.
 |
| Diy Lamination - How to Laminate Photos At Home |
From the lamination sheet roll, cut out a piece according to the size of the photo we are going to laminate.
diy lamination - how to laminate photos at home
 |
| Diy Lamination - How to Laminate Photos At Home |
Always remember while cutting the lamination sheet make it a little bigger than the photo, so that you have margins on all sides. This will come in handy if in case you err while aligning the photo to the sheet.
 |
| Diy Lamination - How to Laminate Photos At Home |
A glass surface is the best for this purpose, if you don't have a glass table, just a piece of glass bigger than the photo you wish to laminate will do. First peel the lamination sheet clear a little and stick it to the glass surface.
 |
| Diy Lamination - How to Laminate Photos At Home |
Align the photo precisely with the edge of the table, remember only allow the lamination sheet to touch the photo once you are sure of the alignment, because one it sticks, it sticks.
 |
| Diy Lamination - How to Laminate Photos At Home |
Now slowly peel the clear sheet little by little and stick the film on to the photo by pressing firmly with a soft cloth. Point to remember while doing this is that there should not be any air bubbles.
 |
| Diy Lamination - How to Laminate Photos At Home |
 |
| Diy Lamination - How to Laminate Photos At Home |
Slowly work your way to the top of the photo.
 |
| Diy Lamination - How to Laminate Photos At Home |
Now our photo is attached to the clear sheet.
 |
| Diy Lamination - How to Laminate Photos At Home |
cut the excess sheet out.
 |
| Diy Lamination - How to Laminate Photos At Home |
Cut the excess sheet from all sides.
 |
| Diy Lamination - How to Laminate Photos At Home |
Congrats now you have successfully completed laminating your photo.
 |
| Diy Lamination - How to Laminate Photos At Home |
A closer inspection.
 |
| Diy Lamination - How to Laminate Photos At Home |
You may now proceed to frame the picture or as i did stick it on the wall board.
 |
| Diy Lamination - How to Laminate Photos At Home |
Post a Comment